This post is an update to Simple Discord Messages in Python, but this time in JavaScript! We’re going to use some simple code for sending a Discord message without the need of any Discord API library.
I have a node.js project that I want to run on Heroku, but with my own modified node plugins in the node_modules folder. When deploying the project to Heroku, it keeps installing brand new node dependencies, which overwrites my modified ones.
According to this Stack Overflow answer, “npm install” always runs and cannot be blocked or skipped. However, there is one workaround, which is to create a .npmrc file in the project root with the following contents: dry-run
The dry-run setting tells npm that we do not want to make any changes to the node_modules folder, thus keeping our node plugins unaffected!
This post will teach you how to create your own Discord bot using the Node.js discord.js library and how to deploy it using GitHub + Heroku for free if you are a new user. GitHub is great because it lets us store our code in the cloud so that we can access it anywhere and on any device. Hooking it up with Heroku’s automatic deploy is amazing because we don’t need to manually run any commands to build or start the bot. Once new changes are pushed to the GitHub repo, the bot will automatically be updated within minutes. It’s like magic.
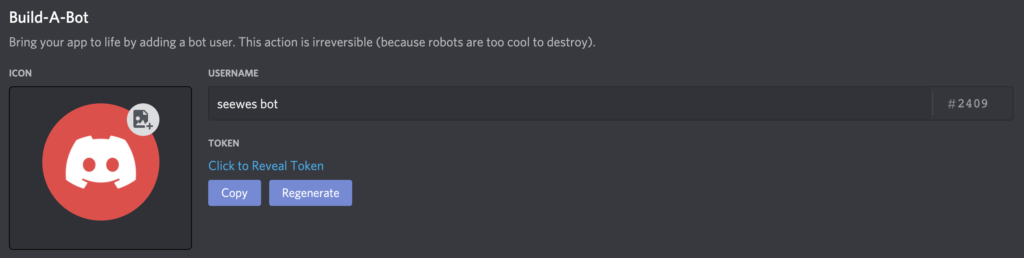
After making the app, we’ll need to create the bot that lives within the app. Click on Bot in the menu, and then Add Bot. Update the bot name if necessary and then click on the Copy button below to save the bot’s token in a safe place for now.
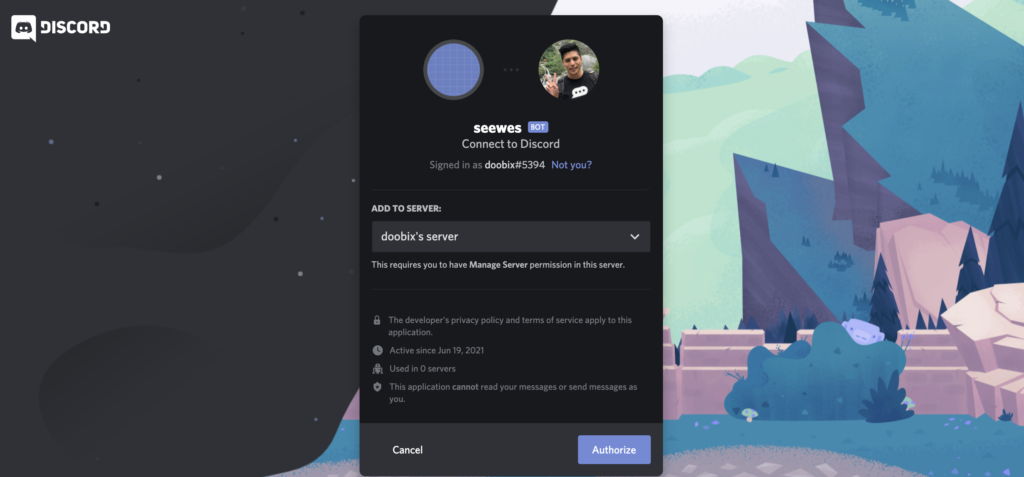
Now we can add the newly created bot into our Discord server. Click on Oauth2 in the menu, select the bot OAuth2 scope, and copy the URL.
Paste this URL into your browser’s address bar, and then select your server where you want your bot to join, and click Authorize.
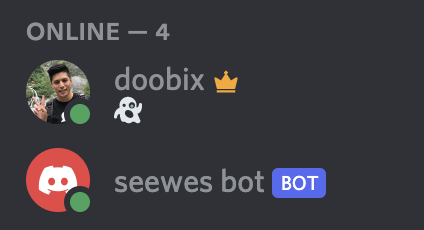
Now the bot has joined your server, but it will be offline until we finish coding and deploying it.
Note: Your bot can be added to other servers if people have your OAuth2 link. You can disable this by flipping the “Public Bot” toggle.
2. Discord.js
Create a new folder somewhere to store your code for your new bot. Inside the folder, initialize it as a new npm project and install discord.js with:
npm init
npm install discord.js
Open up the package.json file and you should see an existing "scripts" object — add a new "start" key inside that object with the value "node index.js". It should look something like this:
"scripts": {
  "start": "node index.js",
  "test": "echo \"Error: no test specified\" && exit 1"
},
This will allow us (and Heroku) to start the bot by running the command: npm start
Create a new index.js file and paste in some sample bot code:
const Discord = require('discord.js');
const client = new Discord.Client();

// log when the bot is ready
client.on('ready', () => {
  console.log(`Logged in as ${client.user.tag}!`);
});

// listen to messages and reply
client.on('message', msg => {
  if (msg.content === 'hello') {
    msg.reply('hey there!');
  }
});

client.login('token');
On the very last line of code, replace the ‘token’ word with the bot’s real token which you should have saved in a safe place earlier.
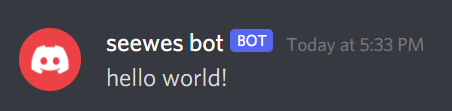
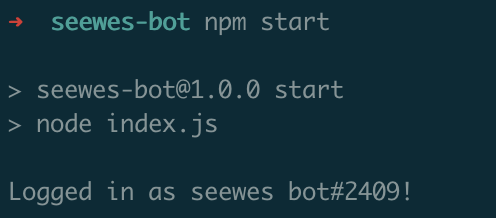
Now in your terminal, you can run npm start. The bot should log in, and you should see it online in your Discord server.
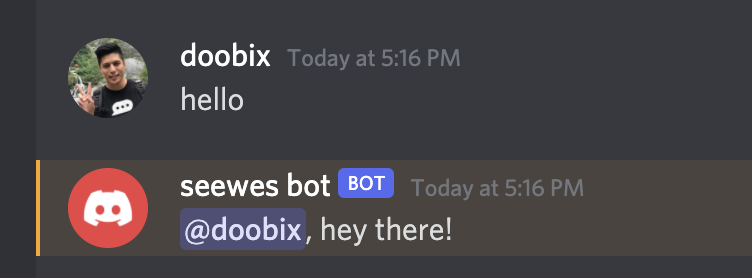
Type “hello”, and your bot should reply back to you immediately with “hey there!”
Excellent, the bot is working locally! Press Ctrl+C in your terminal to quit the bot application and it should go offline from your server in a minute or two.
3. GitHub
I recommend creating a GitHub repo to store your bot code. We will also set up automatic deploys to Heroku each time new code is pushed into the main branch.
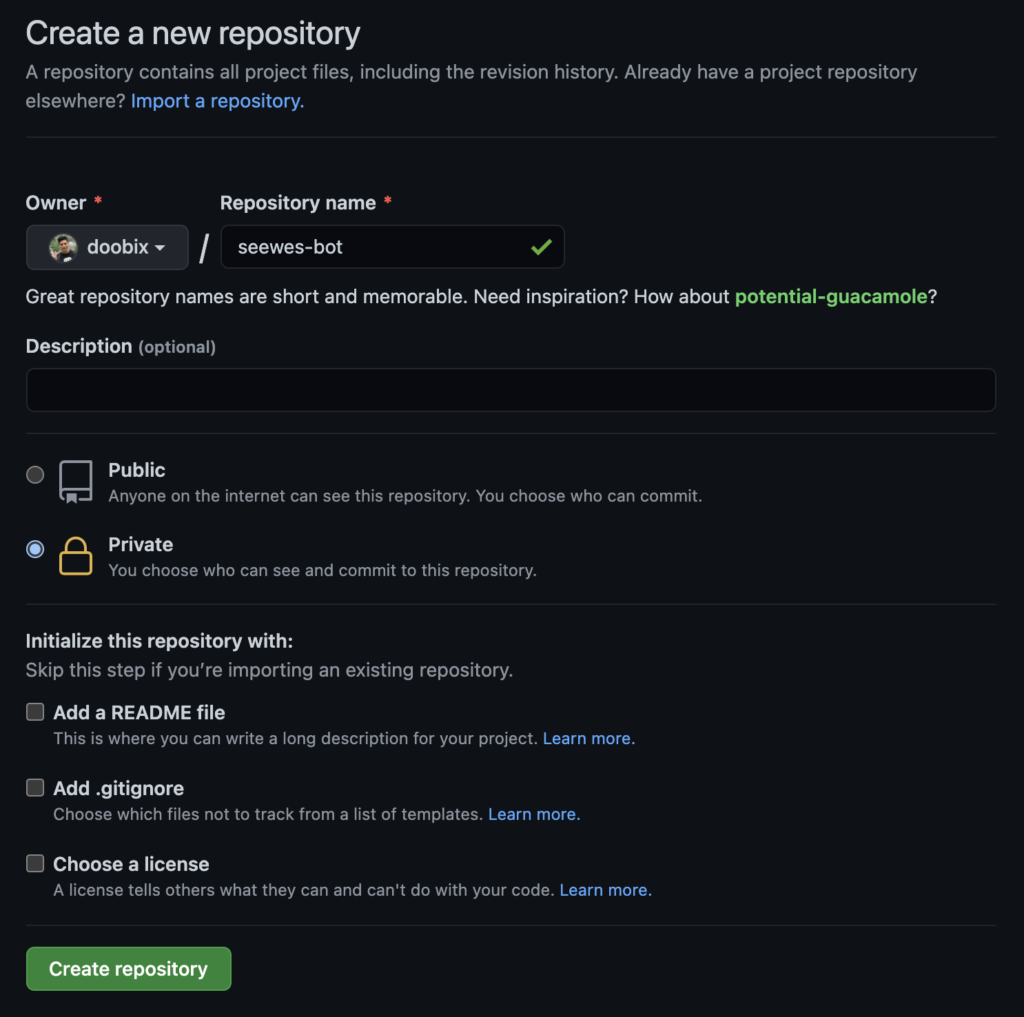
In GitHub, create a new private repository (because the code has your private bot token).
Go back in your terminal and let’s run a few commands to:
Initialize the folder we’ve been working in into a git repo.
Add a .gitignore file that ignores the node_modules folder from git because we don’t need to track/push that into GitHub.
Convert the branch from “master” to “main” to promote more inclusive language.
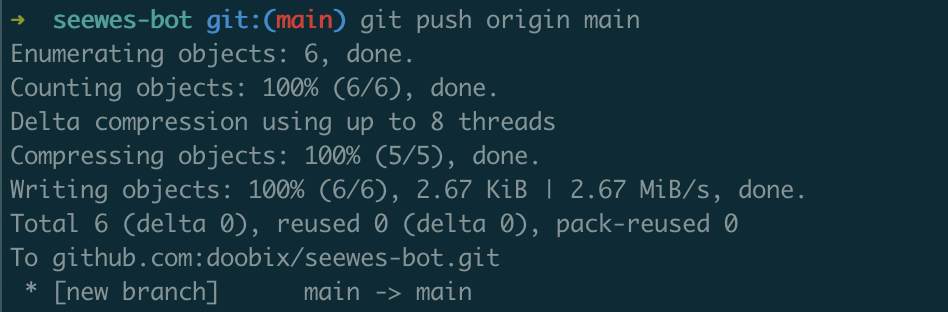
Link to your GitHub repo (change doobix/seewes-bot to your-username/your-repo).
Heroku has a “Free and Hobby” tier for users to run apps for $0. By default, new accounts get 550 free dyno hours to use per month. If you simply add a credit card to your account, you will receive an additional 450 hours, for a total of 1,000 hours for free. In months with 31 days, you can run your Discord bot for 24 hours straight, and it’ll only use up 744 dyno hours, with 256 hours left to spare! So make sure to add a credit card and your bot will not run into any time usage limits.
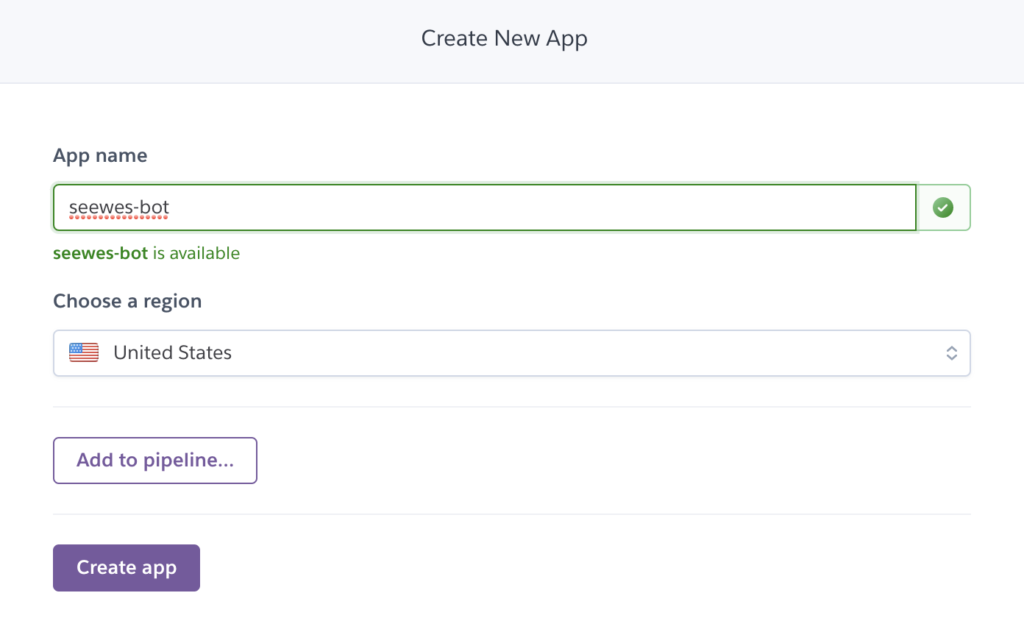
Ok now let’s create our first Heroku app. After signing in, click New > Create new app. Enter your app name and then click Create app.
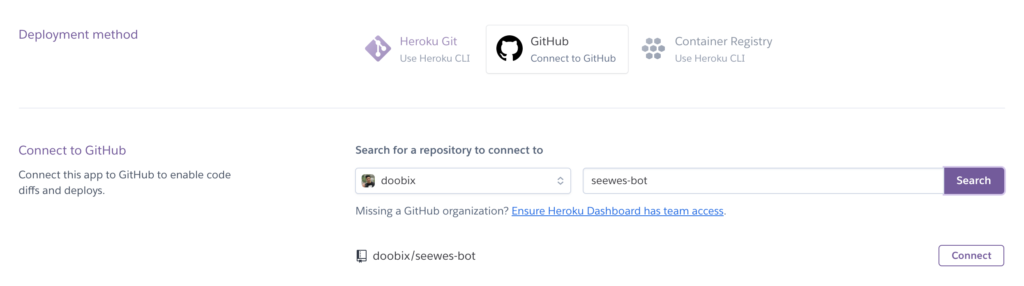
Go to the Deploy section and connect it to the new GitHub repo that we created earlier by clicking on the GitHub icon. Follow the steps to connect your Heroku account to your GitHub account. Once Heroku has access to see your repos, it should let you search and connect to your bot repo.
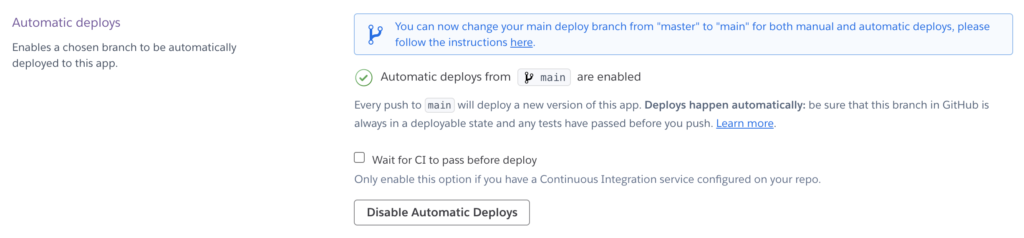
Below in the Automatic deploys section, click on the Enable Automatic Deploys button. This will enable Heroku to deploy your new bot code every time you push a change to the main branch on GitHub.
Now one last thing is that this new Heroku app defaults to being a web app. This means that it only turns on and uses dyno hours when users visit the web url, and it turns off in 30 minutes if it has no web traffic. Since we are not running a website, we need to convert this Heroku app to a worker app with a Procfile.
Run the following commands in the your terminal to add a new Procfile and push the change to GitHub:
After that’s done, visit the Resources section in Heroku. Disable the web dyno type, and Enable the worker dyno type.
And that’s all there is to it. Your bot should be up and running, and it should reply to you when you type “hello” in your Discord server!
5. Finish
Now you can continue to extend your bot with more features. Have it reply to other commands. Make it give reactions when it detects certain phrases. Etc. Check out the discord.js docs to see more examples and what API’s are available for you to use. The possibilities are endless!
So let’s say I have a React component written in TypeScript with a private member variable that I would like to unit test. The component is very complicated and I need to make sure the private variable has the correct value, and it looks something like this:
export class HelloWorld extends React.Component<Props, State> {
  private message = "foobar";
  public render() {
    return <div>Hello World</div>;
  }
}
If I mount the component with Enzyme, I can find the component, but I cannot see the private variables inside it. One thing I can do is to create an interface of that component just for testing purposes. In the interface, I can reveal the private variables, like this:
With this interface created, I can mount the component, get the instance of it, and do a type assertion. Now I can test that private variable without TypeScript complaining:
I recently made a very simple website with Next.js that would display the 5 newest YouTube videos from a particular channel using the YouTube Data API. I quickly learned three things after deploying the code to Netlify and Now:
Deploying to Netlify and Now only created a static version of the website.
The private API key was visible in the HTML code.
The 5 newest YouTube videos were going to stay the same until the next deploy.
At this point, I decided to look online to see how to run an Express server with Next.js so I can keep the private API key hidden in the backend and so I can always display the 5 latest videos without needing to redeploy my code. Here are the steps I took starting from the beginning.
Install Dependencies
Run these 2 lines to initialize the project and install Next.js, React, and Express:
npm init
npm install --save next react react-dom express
Now edit the package.json file to make the scripts section look like this:
Tip: Use “nodemon server.js” when you are devving so every time you make a change to the server.js file, it will automatically restart your server. Run npm install -g nodemon to install the utility.
Create a Next.js Page
Create a folder called “pages” in the root directory with a file named index.js inside the folder. Add the following code into pages/index.js:
function Home() {
  return (<div>Hello next.js on express!</div>);
}
export default Home;
This small block of code simply displays a short message when someone visits the website.
const express = require('express');
const next = require('next');
const dev = process.env.NODE_ENV !== 'production';
const port = process.env.PORT || 3000;
const app = next({ dev });
const handle = app.getRequestHandler();
app.prepare()
.then(() => {
  const server = express();
  server.get('/test', (req, res) => {
    res.send('Hello from express!', 200);
  });
  server.get('*', (req, res) => {
    return handle(req, res);
  });

  server.listen(port, (err) => {
    if (err) throw err;
    console.log(`> Ready on http://localhost:${port}`);
  });
})
.catch((ex) => {
  console.error(ex.stack);
  process.exit(1);
});
The ~30 lines of code here basically creates an express server where you can have custom endpoints for you to do API data fetching. For example, you can create a /api/videos endpoint for fetching and returning JSON data by adding this block:
In the /pages/index.js file, you can do a fetch on the /api/videos endpoint and render the data however you’d like.
Deploy to Elastic Beanstalk
Now that the code is done, I decided to deploy to AWS Elastic Beanstalk because I have used AWS for other projects before. It was fairly easy but I will outline the steps.
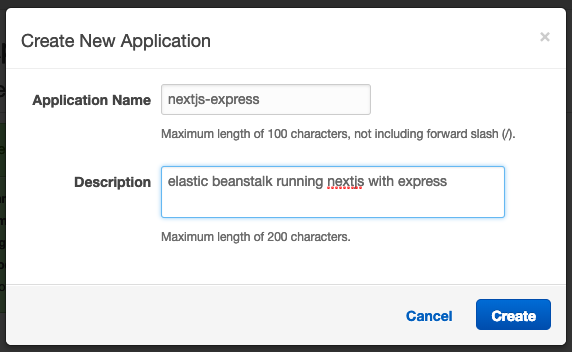
First, go to the Elastic Beanstalk page and click on “Create New Application” at the top right corner. Fill out the application name and a description.
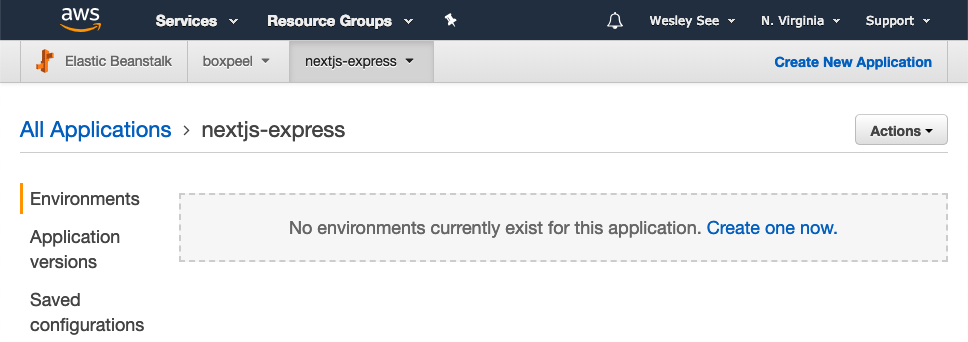
You should now be on the newly created application page and it’ll tell you to create a new environment.
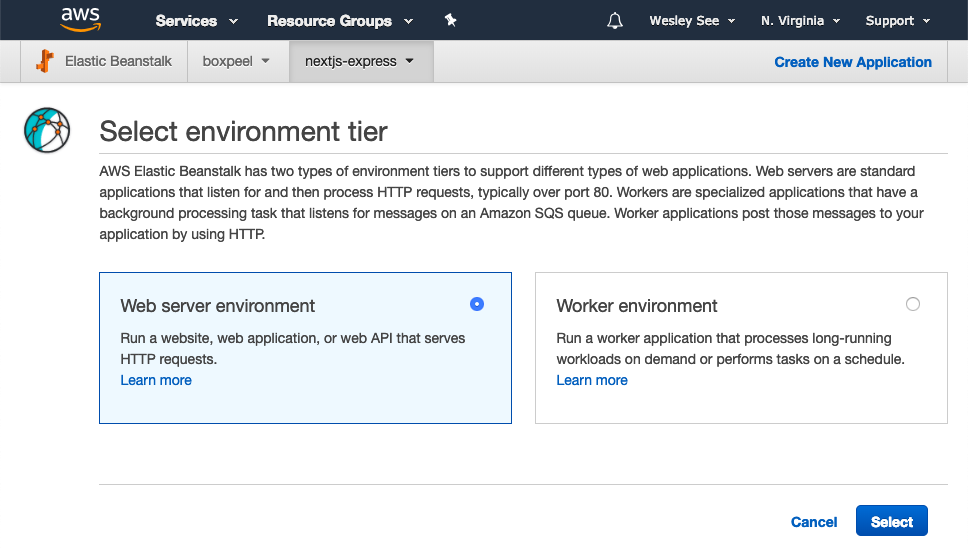
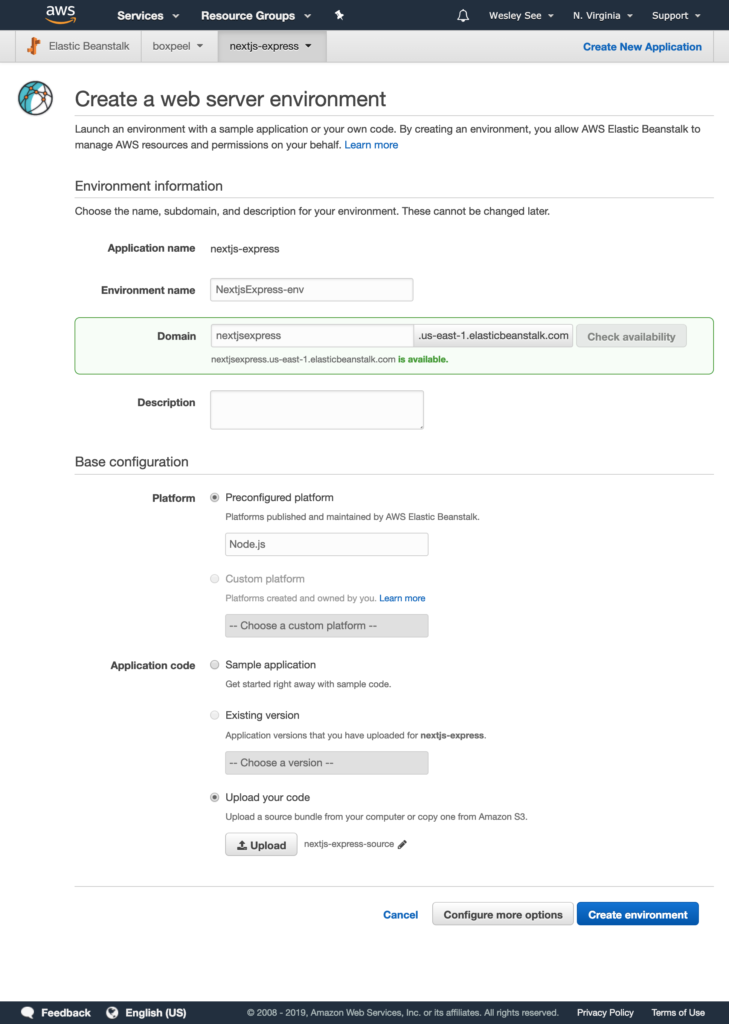
Click on “Create one now” and select “Web server environment“.
On the next page, you can name the environment anything you’d like, pick a nice domain, select Node.js as the preconfigured platform, and then upload a zip file of the directory with all of the code created from the beginning of this blog post.
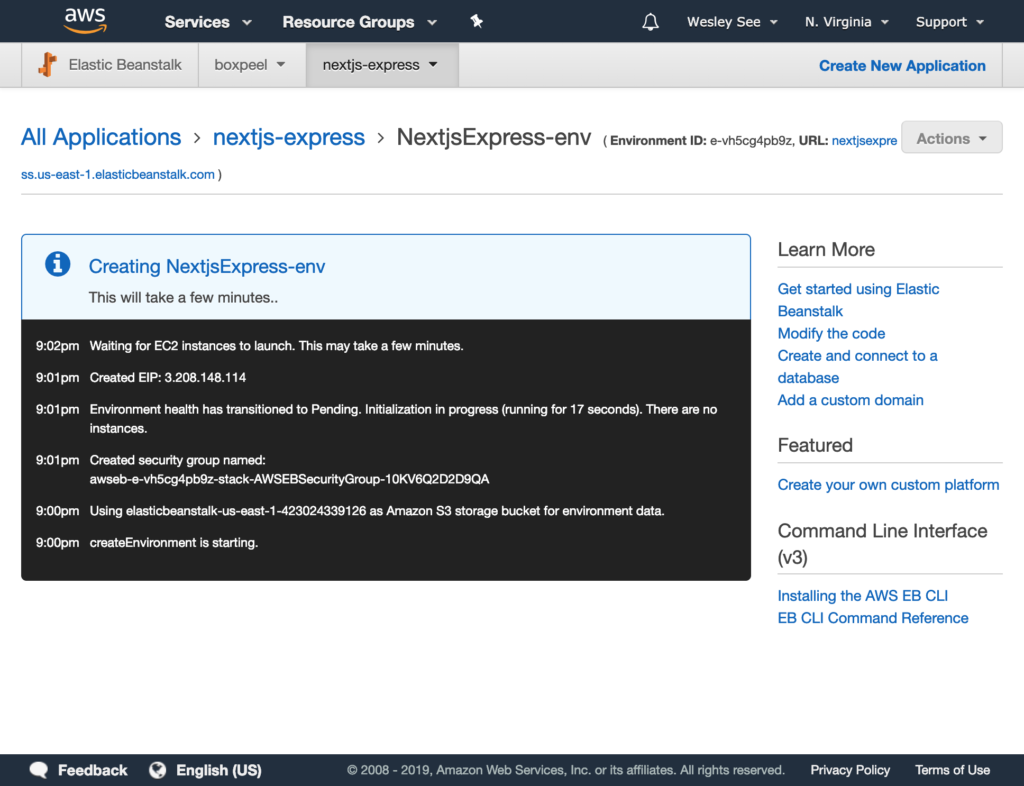
Click on “Create environment” to start the process!
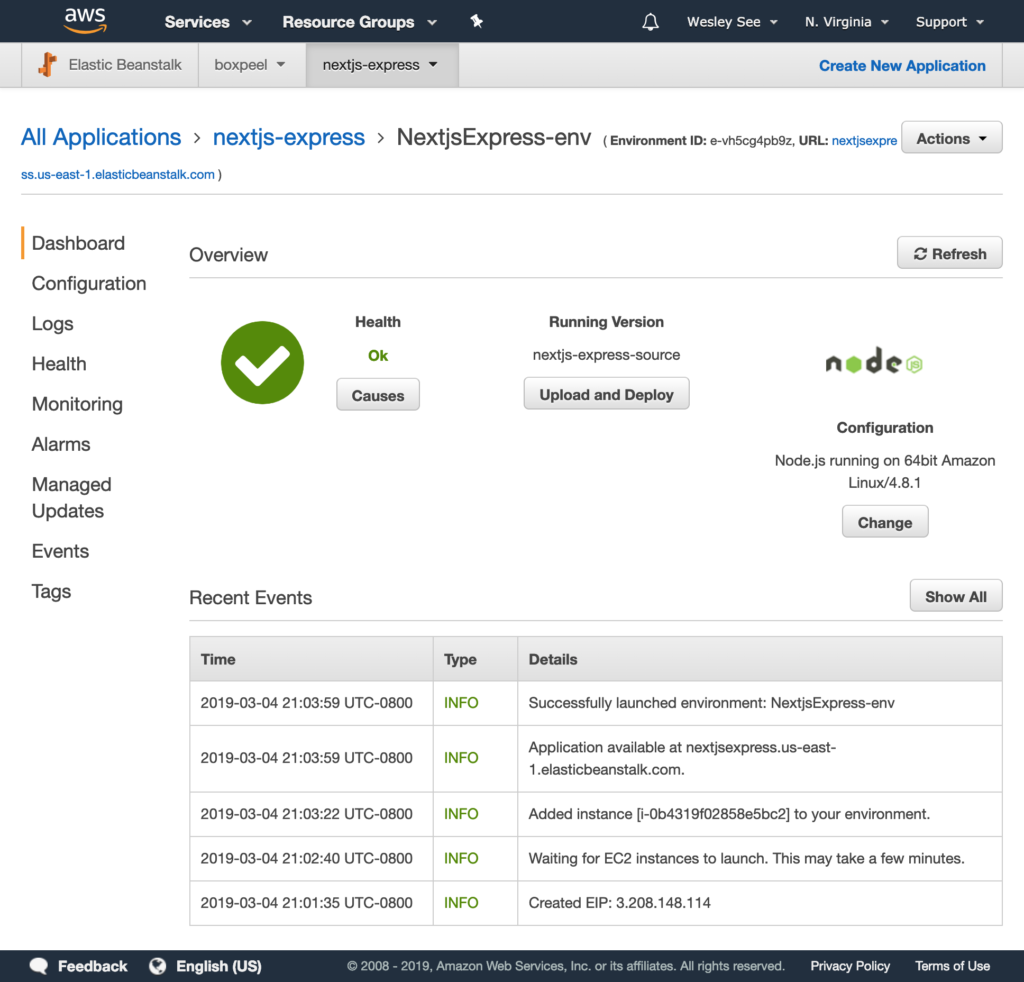
After a few minutes, you should see your completed environment.
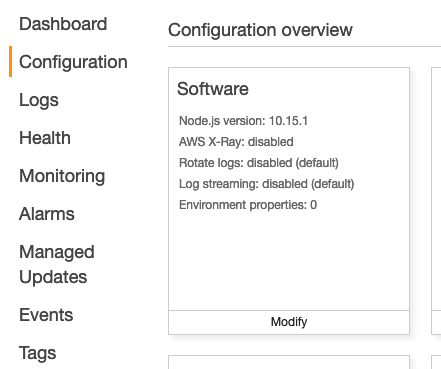
Almost done. Click on Configuration on the left side and then click Modify in the Software box.
In the Node command input box, enter: npm run deploy. This makes the environment run the deploy script as defined in the scripts section in the package.json file.
Make sure to hit the Apply button, and that’s all there is to it! The code should be deployed and reachable through the elastic beanstalk domain (i.e. <domain>.us-east-1.elasticbeanstalk.com).
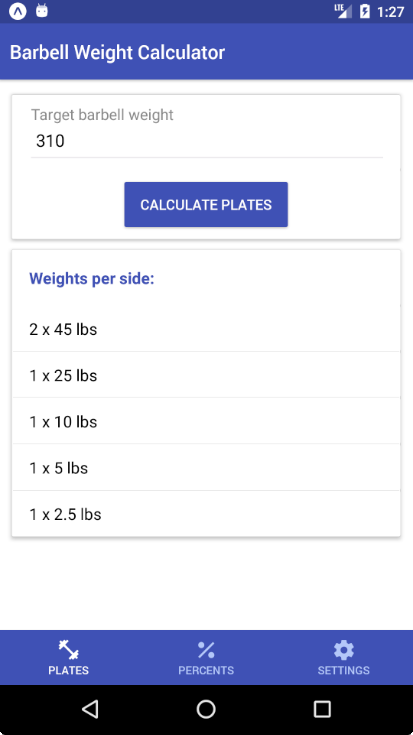
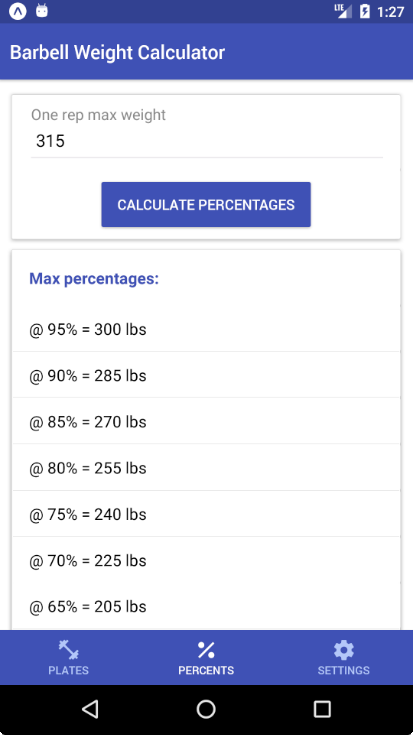
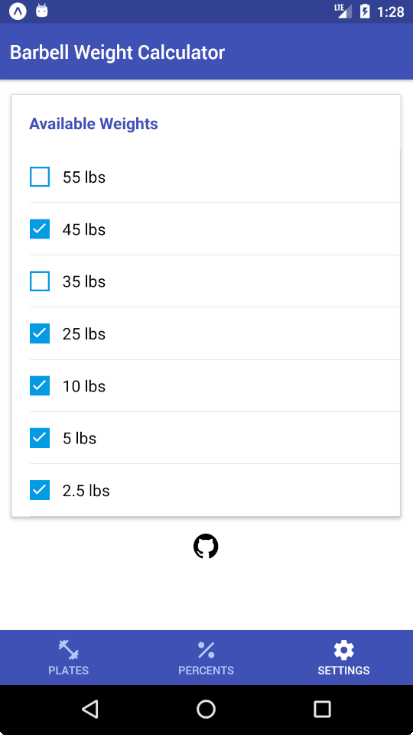
I’ve published my first Android app! ? This is yet another Barbell Weight Calculator, pretty much a copy of my web app version. The main differences are: 1. it is an installable Android app from the Google Play Store, and 2. it can calculate percentages of your one rep max!
Since this app was created using React Native, the code can be built for Android devices, as well as iOS devices. I would love to put this app in the Apple App Store, however, Apple charges a yearly developer fee of $99! Google, on the other hand, charges only a one-time developer fee of $25. So in the mean time, I’ll only be supporting the Android version of the app.
If you have an Android phone, check out the Play Store link below! Otherwise, feel free to take a look at the code on GitHub.
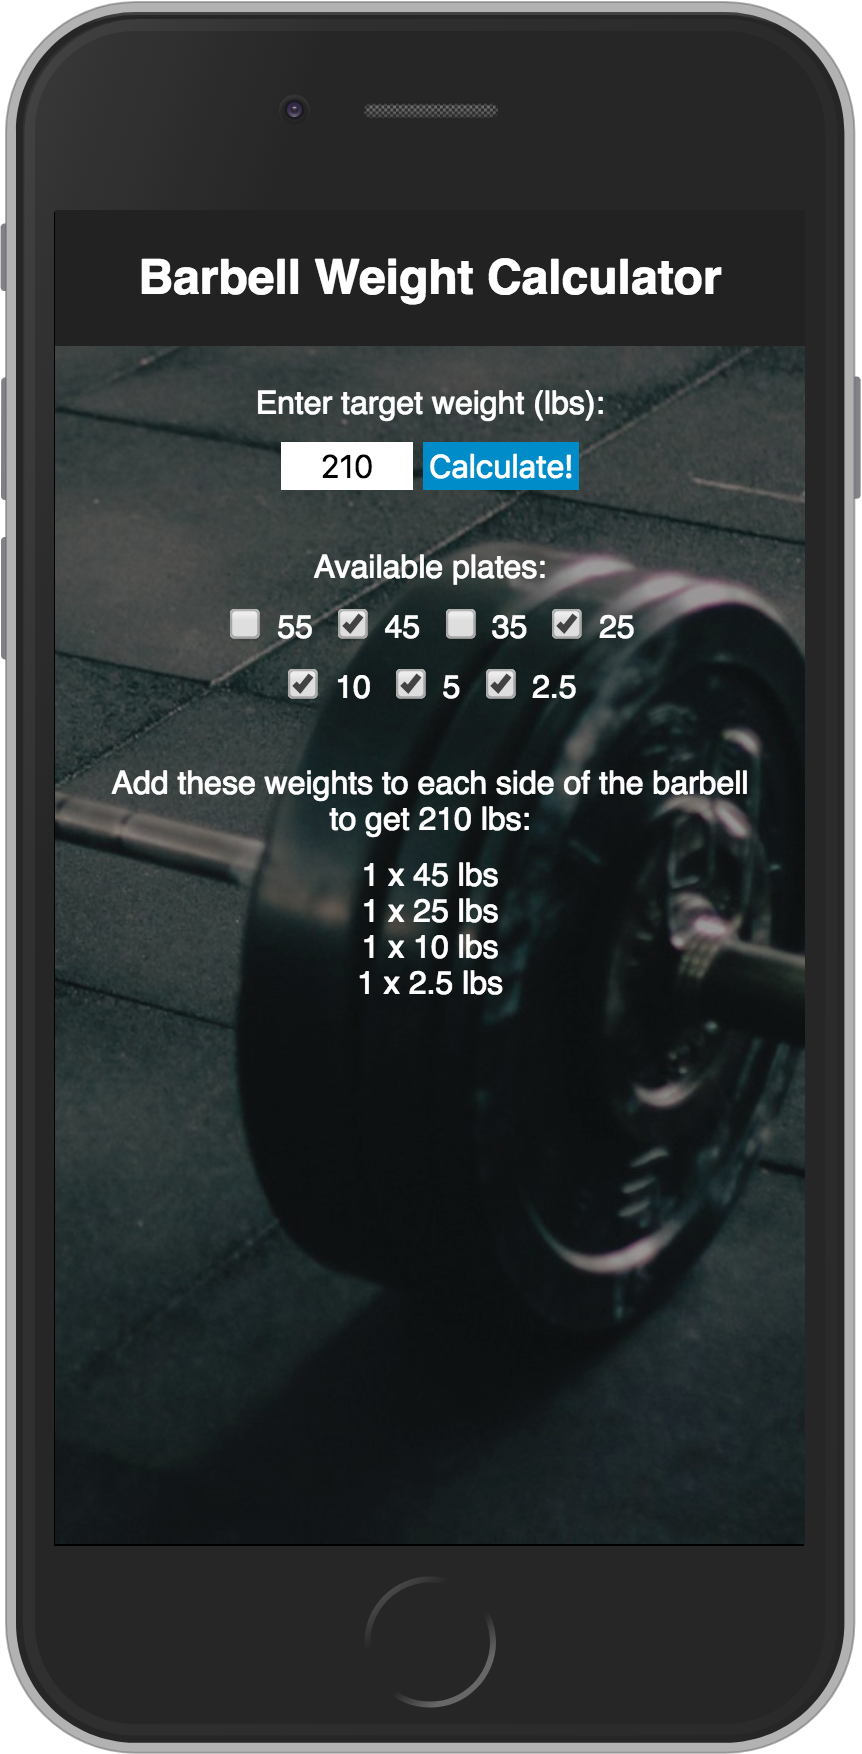
Hi! Haven’t updated this blog in a while. Just wanted to say that I made a little web app using React to make calculating barbell weights easier.
For example, if we’re trying to lift 210 pounds, which plates do we need to get? By using the web app, it quickly tells us that each side of the barbell needs to have: 45lbs, 25lbs, 10lbs, and a 2.5lbs.
Recently, Valve had released their Counter-Strike: Global Offensive game state integration for developers to use. This allows the game client to send all game data, such as the player’s health, guns, ammo, frags, etc. to a HTTP POST endpoint server.
After seeing the PGL Arena Effects in the DreamHack Cluj-Napoca CS:GO tournament a couple of months ago, I decided to make full use of my Philips Hue lights in my room by recreating the C4 bomb lighting effects.
Coding
Since I’ve been coding in Python a lot recently, I stuck with this language for this project. First, I had to create the HTTP server to receive the POST game state data, so I used the Flask microframework. I launched the Flask server and joined a game in CS:GO, and immediately I was seeing tons of JSON being received in the terminal window. All I really needed was the C4 bomb information, which I was able to find in data[’round’][‘bomb’]. By checking that key, I noticed there were 3 values if the key existed: planted, exploded, and defused. If the bomb isn’t planted, there won’t be a bomb key in the round object at all. So after getting the bomb status, I made the server write the result to a file conveniently named bomb_status.
Now I had to do the fun part — making my Philips Hue lights turn on and change colors. I went step by step with the Philips Hue API Getting Started guide, and it was very easy to follow and understand the RESTful interface. Once I understood how to control the Hue lights, I wrote a 2nd Python script for reading the bomb_status file. In this 2nd script, I have a while loop that runs indefinitely, with a 250ms wait time in between each loop. In each loop iteration, it gets the bomb status and goes through a series of if-statements to determine what to do. Here’s the run down of it:
if bomb is planted: make each light blink red 1-by-1.
if bomb is planted and plant time has been >= 30 seconds: make all lights blink red every second.
if bomb is exploded: make all lights turn orange.
if bomb is defused: make all lights turn blue.
if bomb has no status: make all lights turn white.
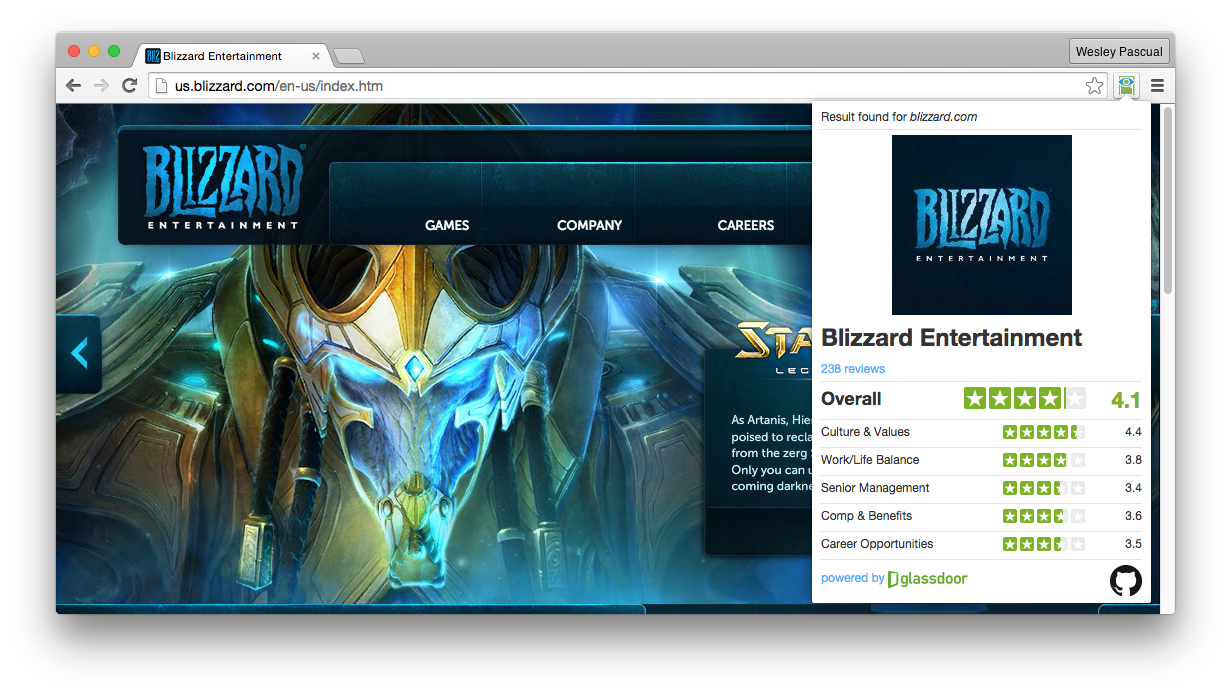
After graduating from Hack Reactor last month, I’ve been looking for companies to apply to. One thing that I found myself doing a lot of was visiting a company’s website, and then going to Glassdoor to see how employees rate that company. So I thought, wouldn’t it be nice to have a 1-click button that would display the Glassdoor ratings on demand? It would save a lot of time opening a new tab, going to Glassdoor.com, and then searching for the company.
Seeing that no such extension existed in the Chrome Web Store, I decided to create one myself. I had modified existing Chrome extensions before, but this was my first time creating a brand new extension from scratch.
Introducing… seeglassdoor!
The most difficult part was to figure out how to grab a URL from a current tab.
To grab a URL of a tab that you are viewing, you need the “tabs” permission in your manifest.json file:
"permissions": [
  "tabs"
]
Then in your javascript, you will be able to use this code:
chrome.tabs.query({'active': true, 'lastFocusedWindow': true}, function (tabs) {
  var url = tabs[0].url;
  console.log(url);
});
Overall, this project was not a very difficult one, and was a good learning experience for my first Chrome extension. Feel free to take a look at my extension below.