I recently made a very simple website with Next.js that would display the 5 newest YouTube videos from a particular channel using the YouTube Data API. I quickly learned three things after deploying the code to Netlify and Now:
- Deploying to Netlify and Now only created a static version of the website.
- The private API key was visible in the HTML code.
- The 5 newest YouTube videos were going to stay the same until the next deploy.
At this point, I decided to look online to see how to run an Express server with Next.js so I can keep the private API key hidden in the backend and so I can always display the 5 latest videos without needing to redeploy my code. Here are the steps I took starting from the beginning.
Install Dependencies
Run these 2 lines to initialize the project and install Next.js, React, and Express:
npm init
npm install --save next react react-dom express
Now edit the package.json file to make the scripts section look like this:
"scripts": {
  "dev": "node server.js",
  "build": "next build",
  "start": "next start",
  "deploy": "NODE_ENV=production next build && NODE_ENV=production node ./server.js"
},
Tip: Use “nodemon server.js” when you are devving so every time you make a change to the server.js file, it will automatically restart your server. Run npm install -g nodemon to install the utility.
Create a Next.js Page
Create a folder called “pages” in the root directory with a file named index.js inside the folder. Add the following code into pages/index.js:
function Home() {
  return (<div>Hello next.js on express!</div>);
}
export default Home;
This small block of code simply displays a short message when someone visits the website.
Create Express Server
In the root directory, create a server.js file and copy/paste the following code. Credit to tilomitra’s blog post: Building Server-rendered React Apps with NextJS.
const express = require('express');
const next = require('next');
const dev = process.env.NODE_ENV !== 'production';
const port = process.env.PORT || 3000;
const app = next({ dev });
const handle = app.getRequestHandler();
app.prepare()
.then(() => {
  const server = express();
  server.get('/test', (req, res) => {
    res.send('Hello from express!', 200);
  });
  server.get('*', (req, res) => {
    return handle(req, res);
  });

  server.listen(port, (err) => {
    if (err) throw err;
    console.log(`> Ready on http://localhost:${port}`);
  });
})
.catch((ex) => {
  console.error(ex.stack);
  process.exit(1);
});
The ~30 lines of code here basically creates an express server where you can have custom endpoints for you to do API data fetching. For example, you can create a /api/videos endpoint for fetching and returning JSON data by adding this block:
server.get('/api/videos', async (req, res) => {
  const apiResponse = await fetch('https://example.com/api');
  const apiData = await apiResponse.json();
  res.json({
    totalVideos: apiData.totalResults,
    videos: apiData.items,
  });
});
In the /pages/index.js file, you can do a fetch on the /api/videos endpoint and render the data however you’d like.
Deploy to Elastic Beanstalk
Now that the code is done, I decided to deploy to AWS Elastic Beanstalk because I have used AWS for other projects before. It was fairly easy but I will outline the steps.
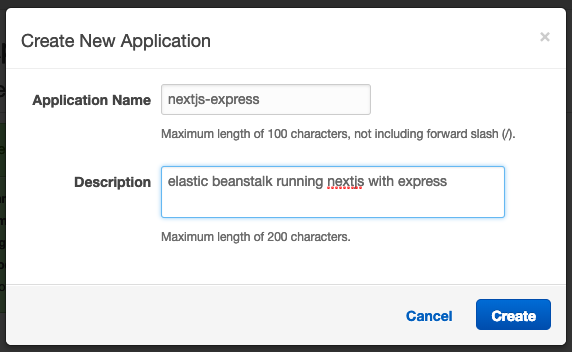
First, go to the Elastic Beanstalk page and click on “Create New Application” at the top right corner. Fill out the application name and a description.
You should now be on the newly created application page and it’ll tell you to create a new environment.
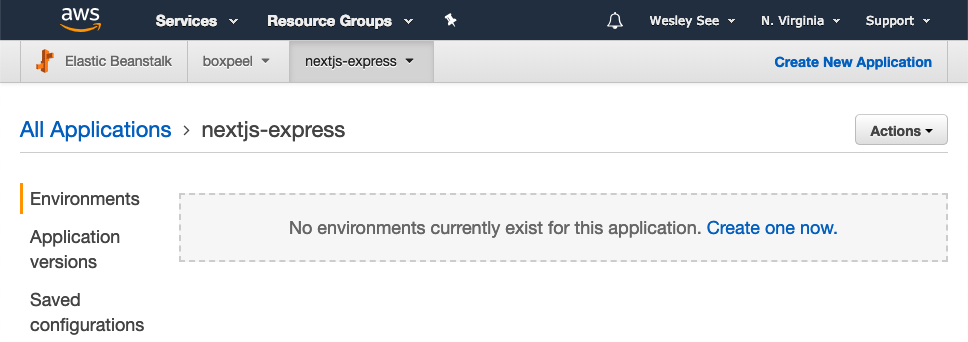
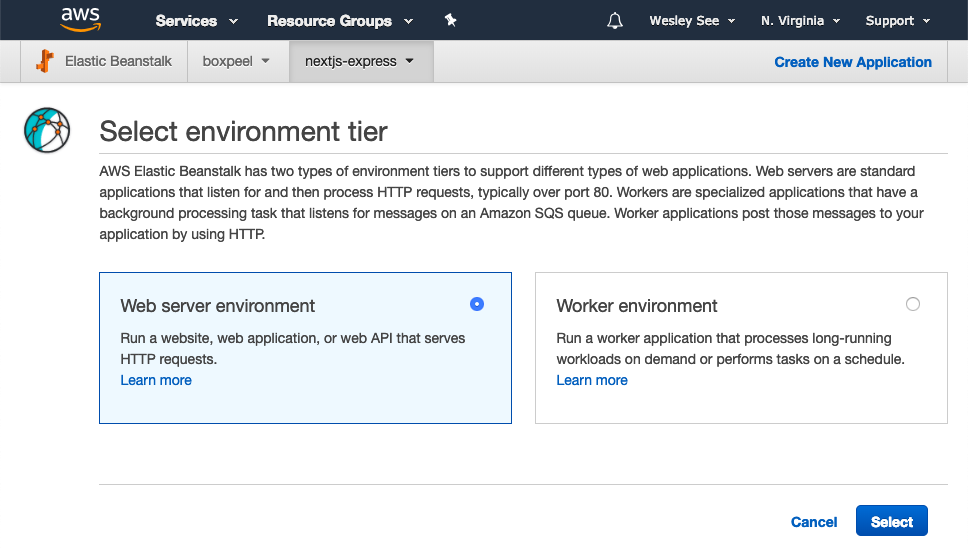
Click on “Create one now” and select “Web server environment“.
On the next page, you can name the environment anything you’d like, pick a nice domain, select Node.js as the preconfigured platform, and then upload a zip file of the directory with all of the code created from the beginning of this blog post.
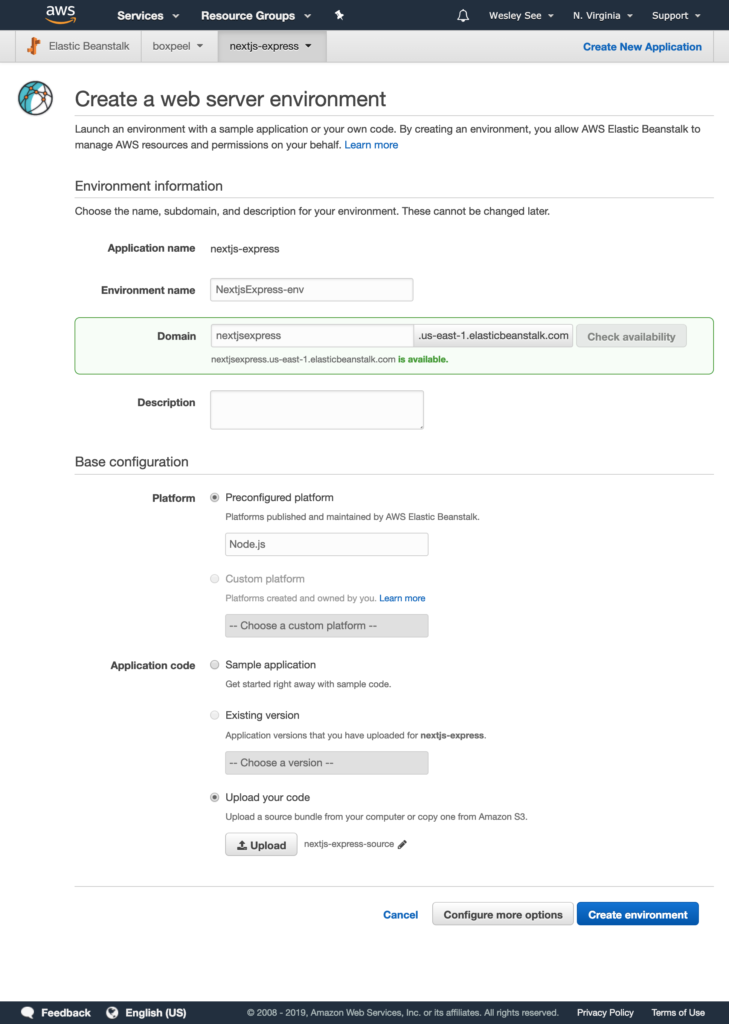
Click on “Create environment” to start the process!
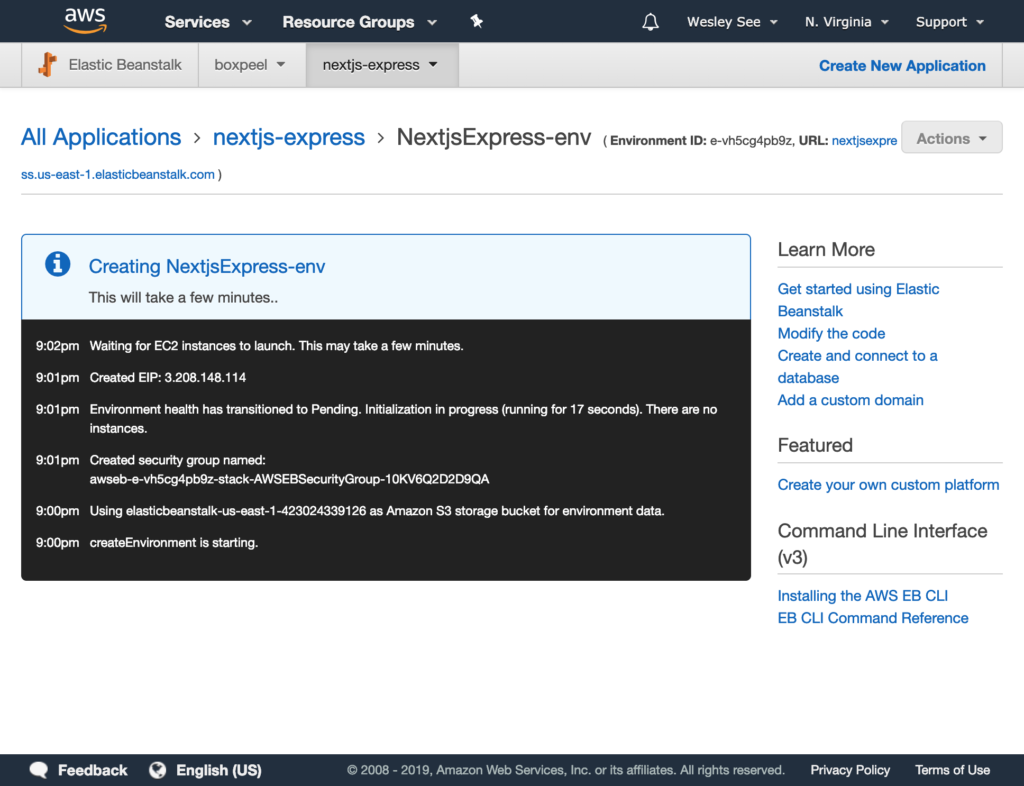
After a few minutes, you should see your completed environment.
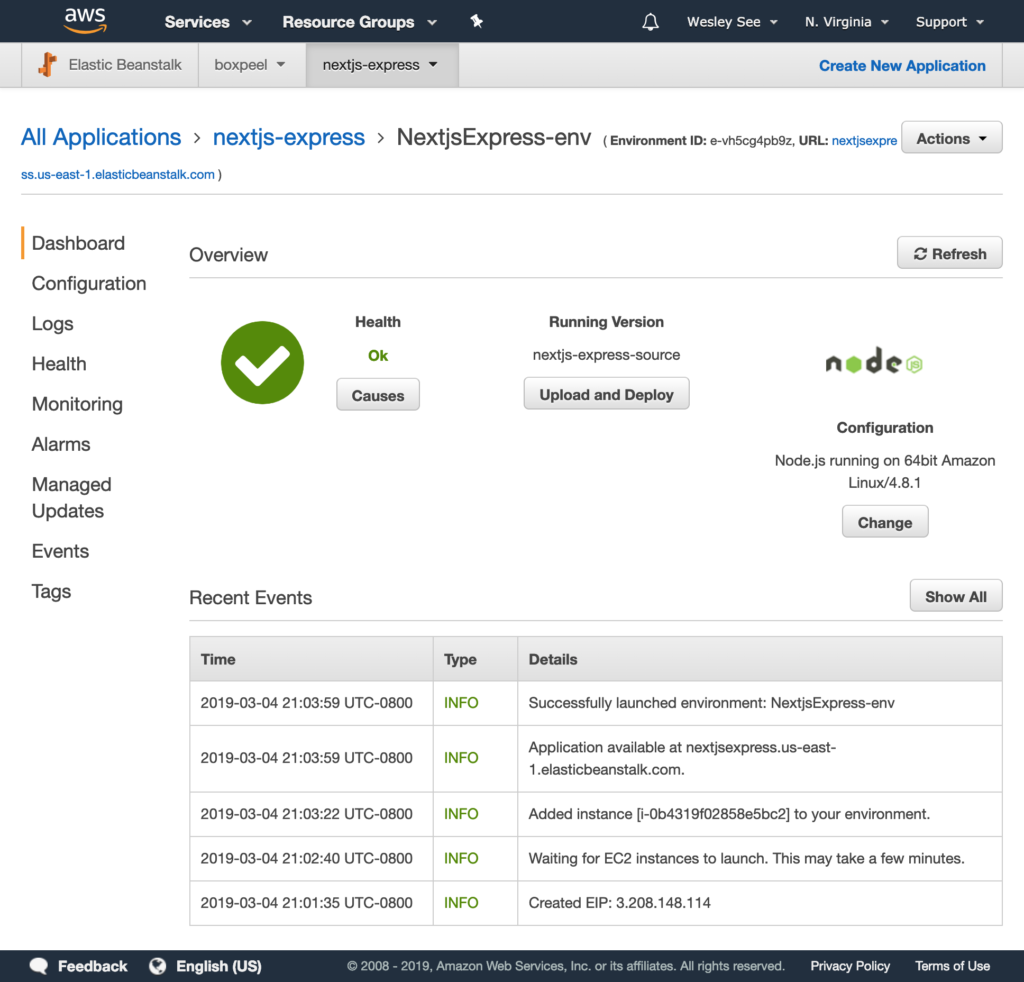
Almost done. Click on Configuration on the left side and then click Modify in the Software box.
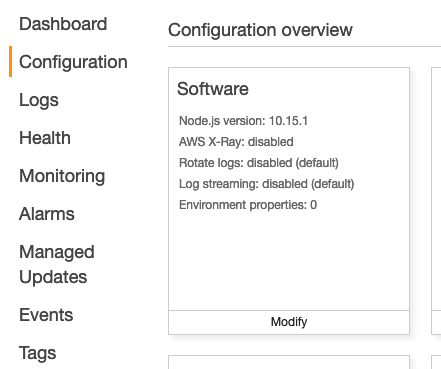
In the Node command input box, enter: npm run deploy. This makes the environment run the deploy script as defined in the scripts section in the package.json file.

Make sure to hit the Apply button, and that’s all there is to it! The code should be deployed and reachable through the elastic beanstalk domain (i.e. <domain>.us-east-1.elasticbeanstalk.com).
Too lazy to create the files and copy/pasting the code? Download the files from the repo I made here: https://github.com/doobix/nextjs-express-demo
Hope this was helpful, let me know your thoughts in the comments section!